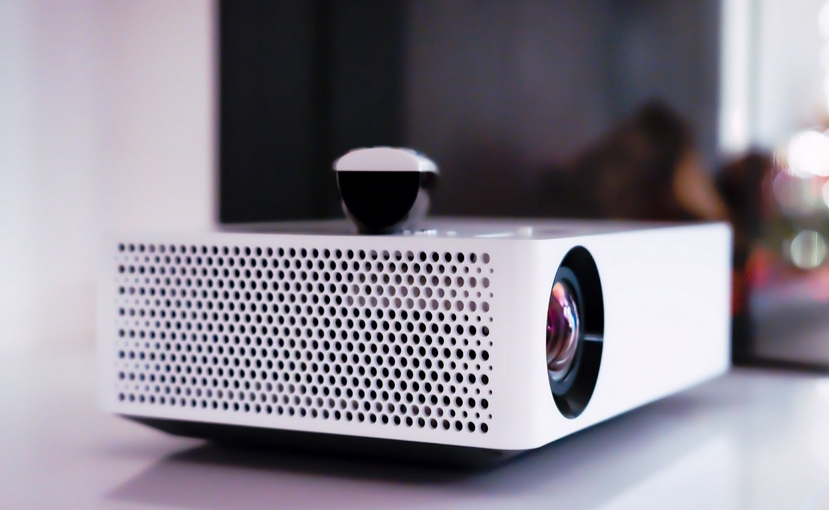
Setting up a projector is not always as straightforward as one might think. Whether you wish for a home theater system or preparing for an important business presentation, there are several challenges that you may encounter when attempting to get your projector ready for use. From finding the right connections to calibrating the picture, being aware of the following 9 potential problems can help make your setup process much smoother.
1. Choosing the Right Projector: First and foremost, you need to make sure that you have the right type of projector for your needs. If you’re planning on using it in a home theater system, then check that it has proper connectivity for all of your other audio-visual components. Likewise, if you’re thinking about taking it with you on business trips, portability is probably going to be more important than features like contrast ratio and brightness.

2. Finding the Right Connections: Once the projector is selected, then comes the challenge of finding all of the required connections.
Depending on what type of equipment you’ll be connecting it to (laptop, DVD player, etc.), different types of cables may be necessary. Make sure that you have all of these cables before attempting to set up your projector.
3. Calculating Distance & Sizing: After connecting everything together, one important step is determining how far away from the screen or wall your projector should be placed and what image size it should produce. This calculation depends upon several factors such as throw ratio (the distance between your projector and its target), aspect ratio (the proportions between width and height), and resolution ratio (how many pixels are contained within an area). Doing this calculation correctly will ensure that your projected image looks correct when displayed on screen or wall.
4. Adjusting Image Settings: After properly placing your projector at its ideal distance from the screen/wall and resizing it correctly based upon calculations from step 3 above, then comes the time-consuming task of adjusting image settings on both your projector and source device(s) in order to achieve optimal picture quality (this could include things like color temperature adjustments). Depending on how advanced your projector is and how knowledgeable about display technologies you are, this step could take anywhere from 10 minutes to several hours!
5. Aiming & Calibrating: Even after making all of these adjustments in steps 2 – 4 above, there’s still one last step before enjoying optimal picture quality – aiming and calibrating! You may need to fine-tune lens shift controls or mountings to ensure that everything lines up perfectly on screen. Otherwise keystone distortion (where content appears distorted because it isn‘t aligned properly) can occur which ruins picture quality no matter how perfect image settings may be adjusted in previous steps.
6. Lighting Considerations: Another factor which must be taken into consideration is lighting conditions within whatever room/space that you plan on setting up a display with a projected image – this includes both natural light coming through windows/doors as well as any artificial lights present in said room/space (i.e., lamps).
Too much bright light can wash out colors and cause distracting reflections off surfaces such as glass or glossy furniture while too little light can cause blacks/shadows to appear grayed out due to insufficient contrast ratios; adjusting lighting accordingly will help ensure optimal viewing experiences with projected images.
7. Power Supply Issues: Make certain that whatever power supply requirement is necessary for powering both source devices connected to your projector as well as its own self works correctly – i.e.., correct voltage/current ratings present throughout the entire chain including AC adapter for laptop connected to input ports on backside panel!
A mistake here could lead to catastrophic results such as fried electronics or even electrical fires so please double check beforehand.
8. Software Compatibility Problems: Many projectors require their own proprietary software programs running alongside whatever application will actually output content onto screen/wall via its connection ports – these programs usually control high-level features like zoom/focus options;
However sometimes compatibility issues arise between said program versions & source devices used leading to disastrous performance issues if not addressed properly in advance.
Also, be mindful of potential computer issues if you are using it with the projector. For instance, how to stop the spinning wheel on Mac since it loads too long, or overheating that is distracting both you and the audience.
9. Connection Troubleshooting: Even if all software & hardware components seem compatible, connection troubleshooting still needs done; double check cables, inputs/outputs, drivers, etc . every time before initiating any kind of projection session.
Often times faulty connections occur without warning but can easily be remedied by simply troubleshooting until the problem is identified & resolved.
