

Often times computers malfunction. A computer used a previous day could suddenly become slow or provides the wrong output for a well entered set of instructions e.g. provide the # symbol when the shift+2 keys are entered instead of the @ symbol. Computers don’t notify us when they want to malfunction. So we must anticipate such times by configuring the system to help us in bringing back the computer to its previous working state, and one of such mechanisms put in place by Microsoft is through the creation of restore points.
So many people dread this part of the computer. In fact, 80 percent of computer users do not make it past the control panel. They see the control panel as a delicate area reversed exclusively for the tech savvy guys. Well, that’s why we are here, at timigate to make seemingly difficult tasks easy. I will show you how you can quickly create a system restore point on your windows computers. This restore point can be used to restore your computer in event that it malfunctions after a successful or unsuccessful windows update or application installation. So lets jump in!
>>Click on search, type in “control panel” and hit the enter key.

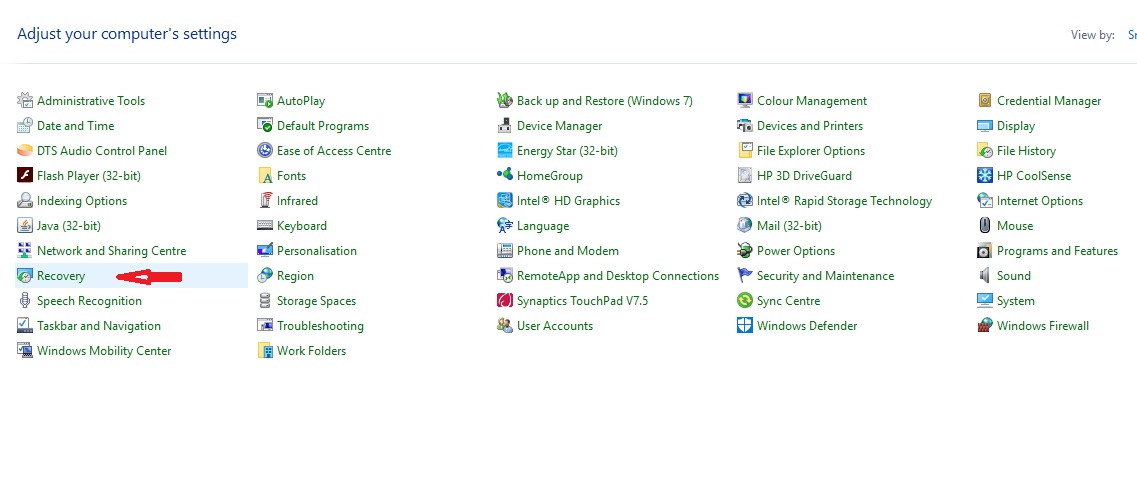
In the dialog window that will appear, click on recovery as shown below.
>>Click on configure system restore.
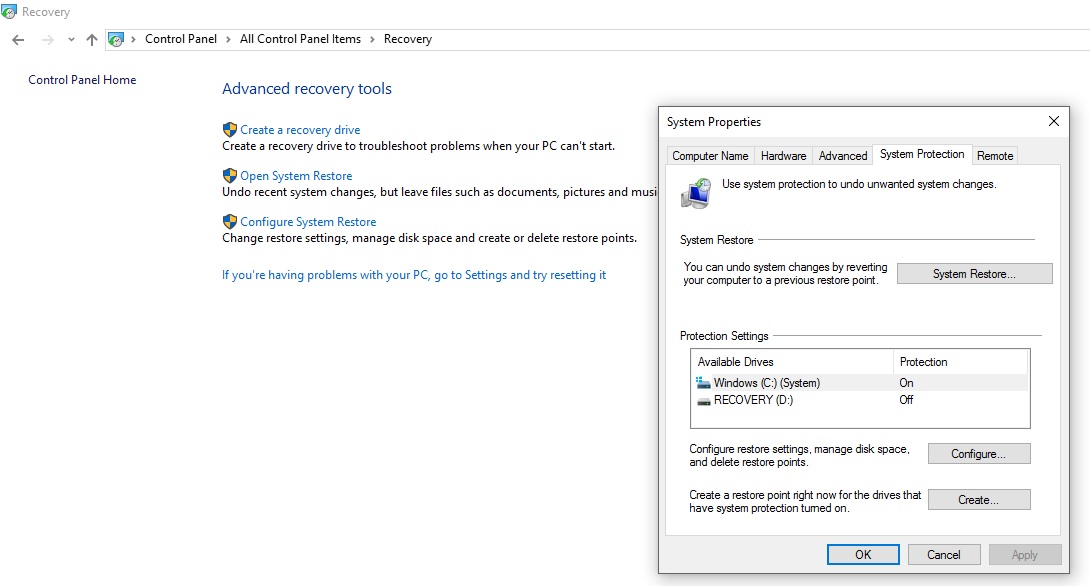
>>Under the system protection tab, click on create, type in the name you would like to associate with the restore point and click on create.


The system will initiate the creation of a restore point. This will take a few minutes after which the restore point, will be successfully created.