
Creating a Mikrotik security profile is one of the easiest parts of the configuration requirements when setting up and establishing wireless links using Mikrotik Router OS. A security profile is a module in your configuration file responsible for maintaining secured connections between your access points and your station devices. It guards against illegal and unauthorized connection to your network.
 I have noticed that most wireless engineers hardly set up security profiles when establishing either point to point links or point to multi-point links. This can either be as a result of the implementation of other options available to them, like mac authentication, static IP address assignment on point to point links using /30 subnets, or lack of the knowledge required for its successful implementation which is as a result of limited information on the configuration of security profiles in Mikrotik.
Before setting up security profile, it is believed that the basic configuration requirements have been met. The wireless interface configured with mode, frequency, SSID, band, radio name, wireless protocol, frequency mode, etc.
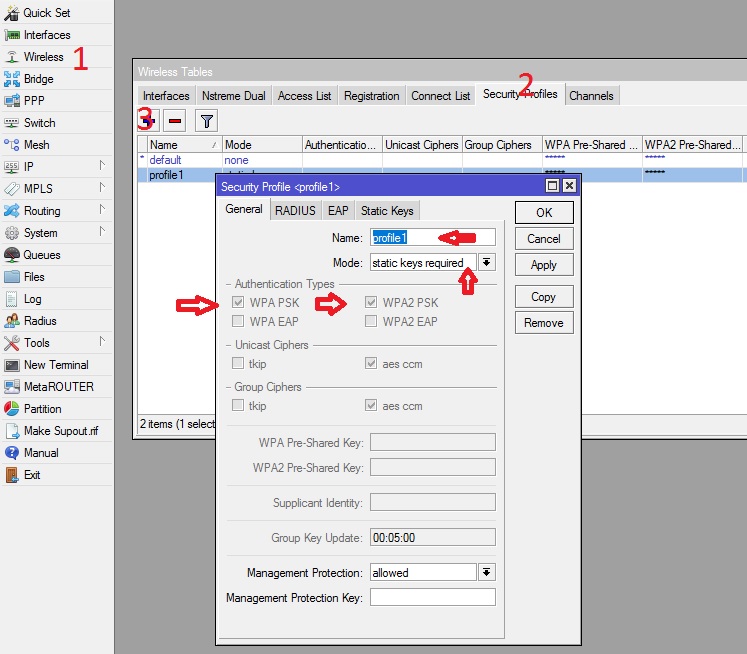
By default, the security profile is set to default as can be seen in the first image below. To set up your security profile, you need to create a new one. Log on to your router via Winbox, click on the wireless tab in the main menu, and double click on the wireless interface you want to configure the security profile on.
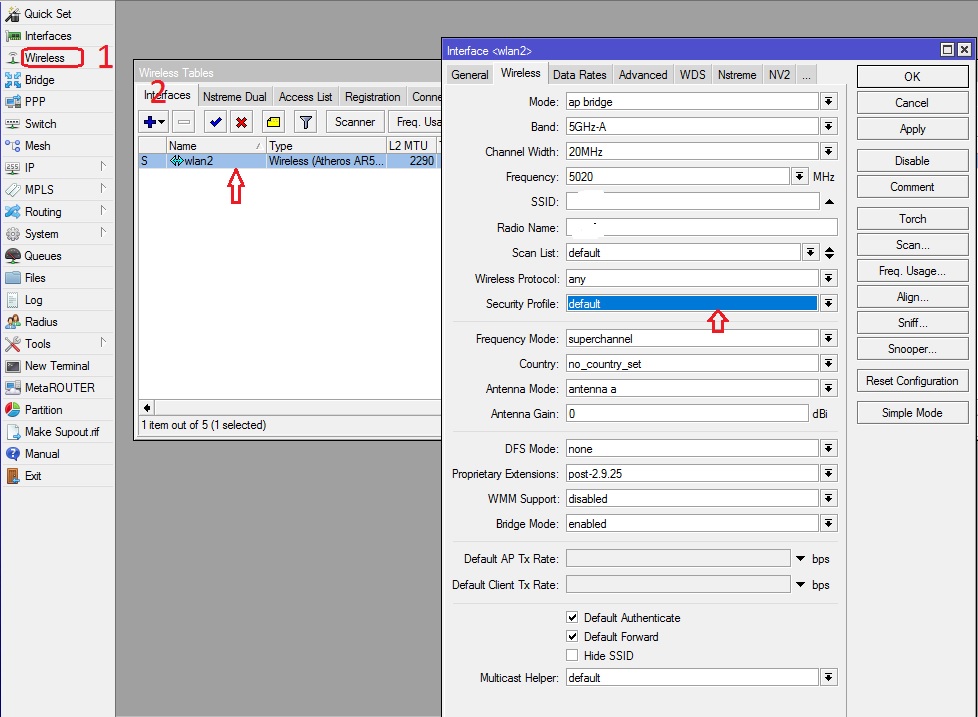

After the security profile has been created, you need to go back to the wireless interface in the interface menu and select the security profile created as shown below:
