
The Routerboard is Mikrotik’s proprietary hardware on which the Mikrotik Router OS is installed. The company has so many variants of the routerboard accompanied with other hadware components like wireless cards, pigtail antennas and POE adapters, to make complete hardware deployed as core routers or as customer premises equipment by internet service providers. For this post, I am going to focus on how we can build a custom radio (CPE) using a routerboard.
What are the requirements ?
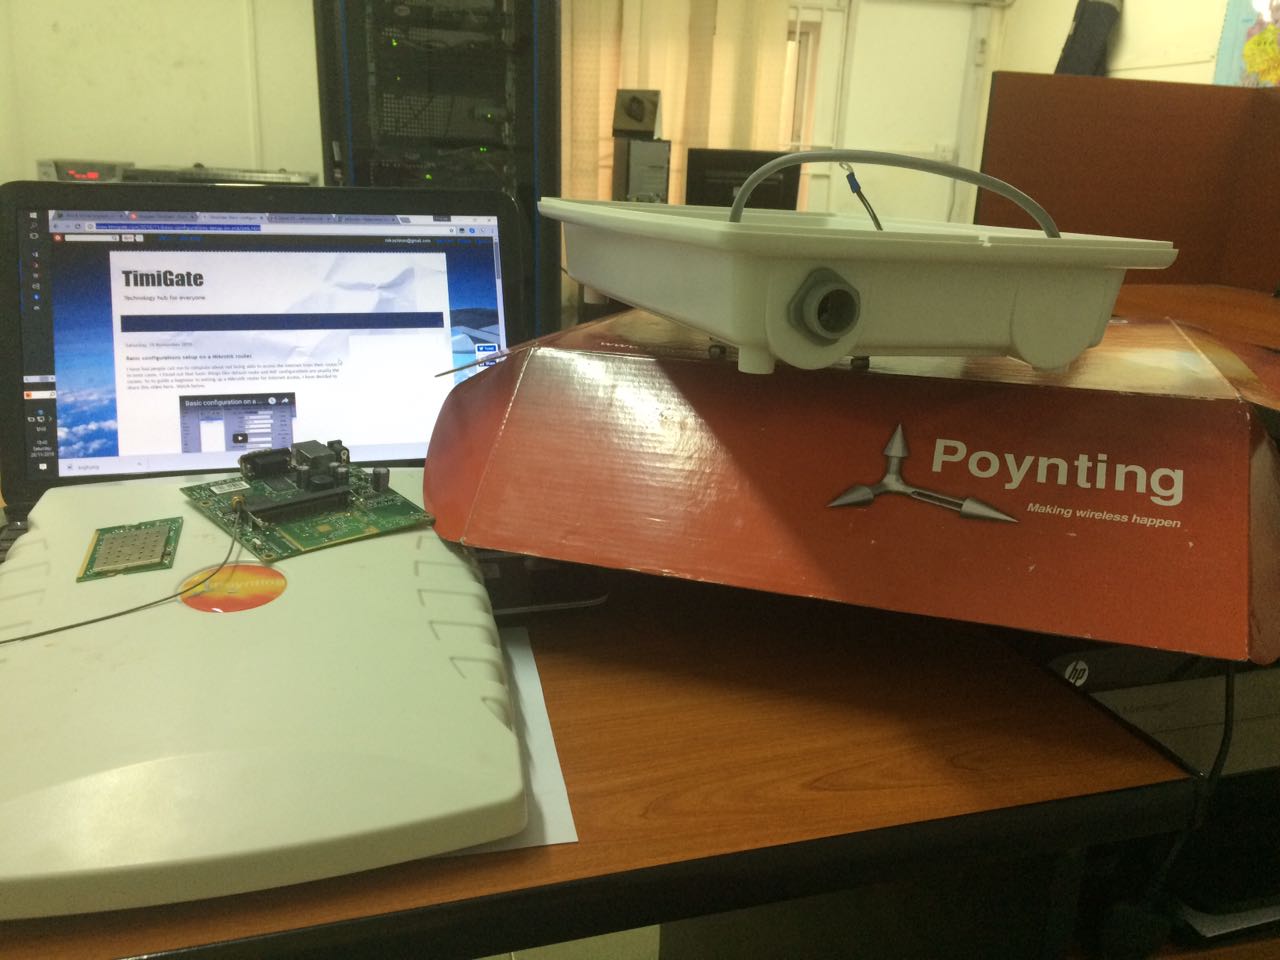
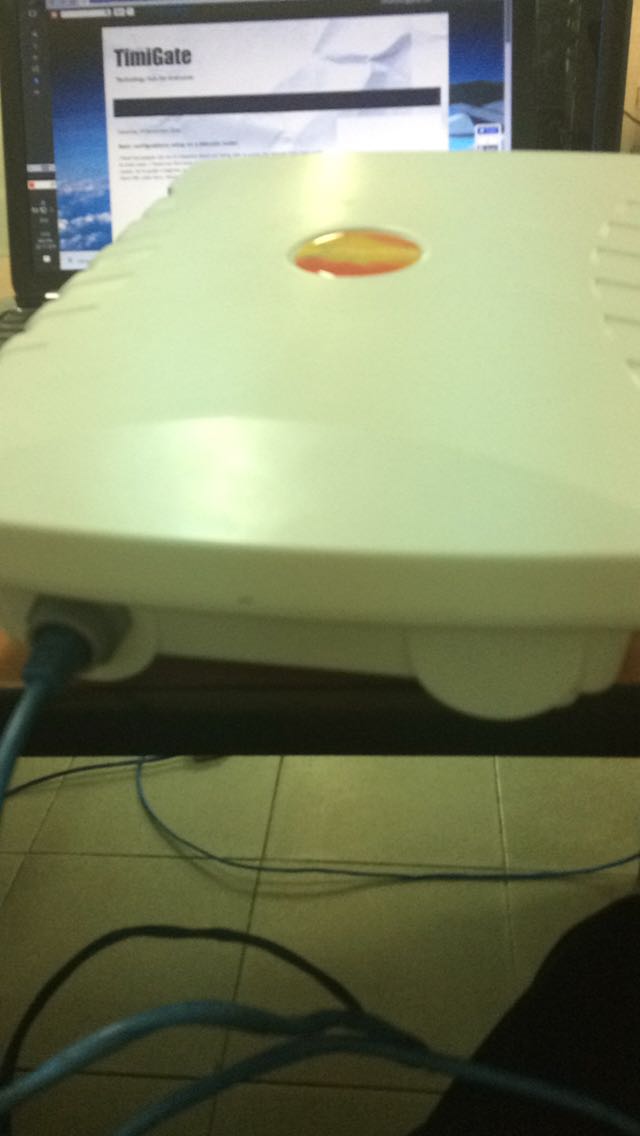
>>Routerboard: RB411
>>Casing: Poynting
>>Pigtail: mmcx to N female bulkhead wireless connector
>>Wireless card: mini pci 350mw
>>POE adapter: passive POE injector
Having got these requirements, assembling your custom wireless outdoor radio is straight forward.
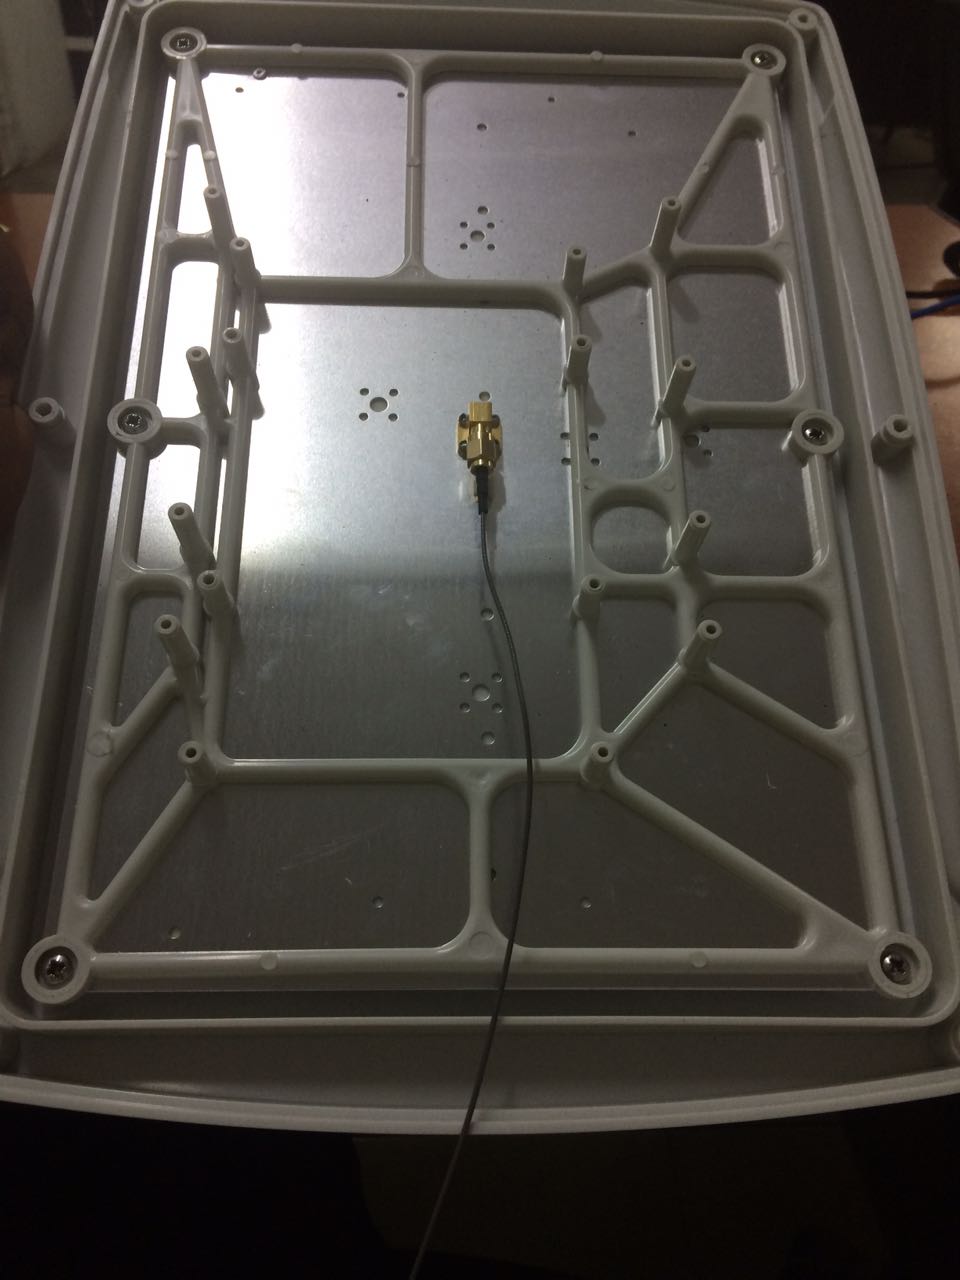
First, we fix the pigtail to the antenna panel on the poynting enclosure.
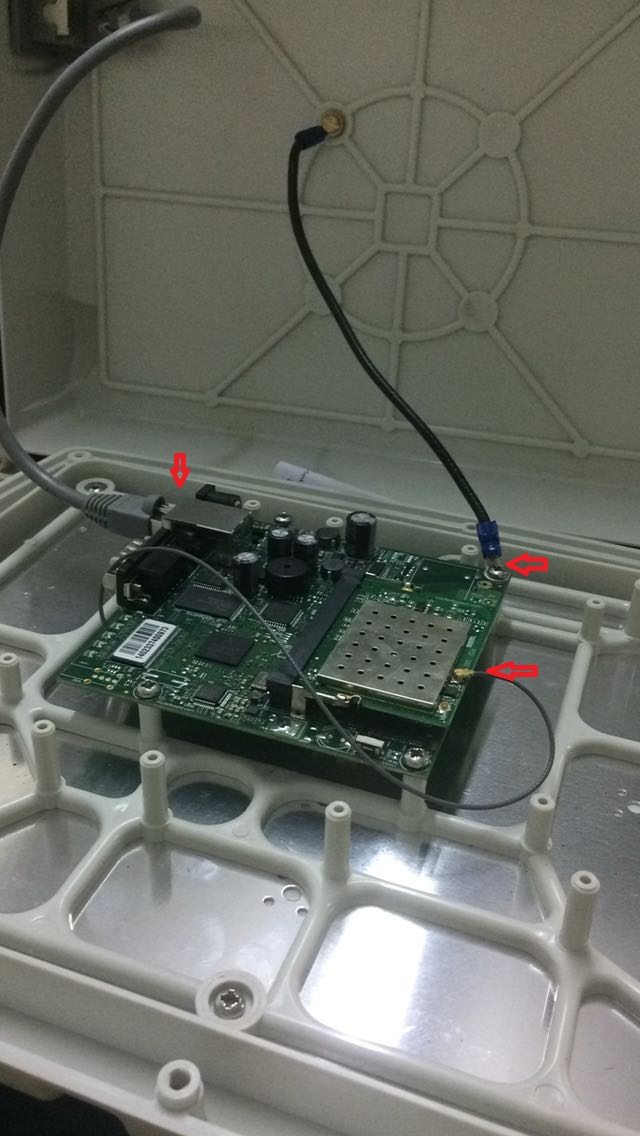
Next, we fix the the RB411 RouterBoard on the antenna panel, insert the wireless card, connect the earth cable and screw.The pigtail is then connected to main on the mini PCI. There are two provisions there. The other one is auxiliary. Make sure you connect your mmcx to N female bulkhead to the main and not the auxiliary.

Please like our page on Facebook and follow us on twitter. Also drop comments and we will respond to your questions. Thanks for reading.