Hello guys, its been a while since I last made a post here. Been busy handling lots of projects but I must say it feels good to be back to blogging. Lots of thanks to those that have been in contact, those that kept checking out for new materials. Now that I am back, lets hit the ground running!
So here is what we are gonna do today. A lot of companies waste huge amount of money paying for internet subscriptions for so many of their branch offices that in most cases are less than 10 km apart, and as is the case most of the times, these bandwidths are not even fully utilised! Today, I’m going to show you how you can get a single internet connection and share it among your various branches using Mikrotik point to multipoint, provided these branches are not more than 30km apart.
Using a Mikrotik 5Gh radio with an Omini-directional antenna, set up an access point at one of the offices. The following configuration will be entered on the access point (AP)
Configuring Mikrotik point to multipoint
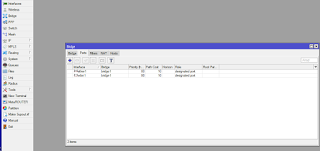
1. click on Bridge,click on the plus sign,enter a name for the bridge. then click on port and add both the ether1 and Wlan1 to the bridge.
The added ports
Next we assign an IP address to the wireless interface. Most people make the mistake of assigning the Ip to the LAN interface. Its a problem in an ISP environment, especially when you need to disable a customer’s LAN for non-payment.
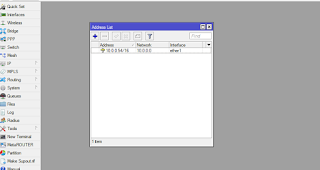
2. click on Ip,click on address, click on the plus sign, assign an ip,choose the ether1 interface and apply and ok.
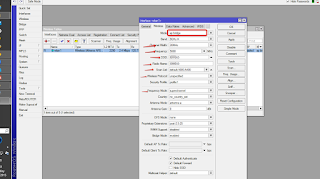
3. Next we configure the wireless interface. By default, the wireless interface on a mikrotik device is disabled. This is to avoid interference. Click on the wireless tab,click on the wireless interface to have it highlighted, then click on the plus sign to enable it. After that, double click on it and enter the following settings:
The mode must be set to AP Bridge,SSID and Radio name should be set to what you want it to be. For better and clearer channels, depending on the country you are,click on the advance tab and chose superchannels. Note that when you are using superchannels on your AP, the stations must also be configured for superchannels else you wont be able to ‘see’ your APs when you scan.
Now, lets move over to the Clients. These ones are easy to configure. If you want all the branches to be on one network, then configure the bridging as we did on the AP, else, do not bridge. Configure two different IPs. one for the WLAN1 and another from a different subnet to Ether1.
Now lets configure the wireless interface for client mode. Just enter the following settings:


