
The Mirotik address-list allows for the grouping of two or more users, using the source or destination address as the factor. This allows rules to be applied to a group instead of individual IPs, thereby reducing the number of rules that an administrator can configure for each user in the group. Address-lists can be used in the firewall rule, mangle rule, queue tree, etc. An address-list can be created manually of dynamically. In this post, we will look at how to create an address-list using both manual and dynamic methods.
Manual Address-lists
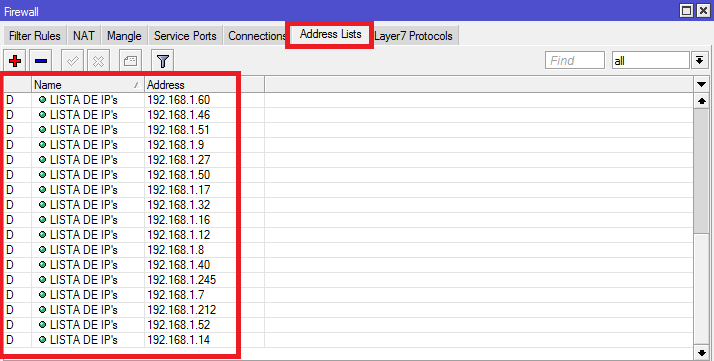
Using the manual method creates an address-list and populates it with the IP addresses of users that belong to that address list. An administrator can create multiple address-lists, each containing the IP addresses of users in that address list. Any rule, whether firewall, mangle rule, or queue applied to such address list will be binding on individual members of the list. For example, on a network of 30 users with a 4Mbps internet subscription, an administrator can create three address lists named Directors, managers, and others. Each address list will contain the IP addresses of its members. The admin can then configure a queue for each address list instead of each user. This will greatly reduce entries in the queue table as well as reduce the work load on the admin and the processor overhead on the router.
To create an address-list click oncIP>>Firewall>>Address List, enter a name for the address list, typecin the user’s IP, click on apply and OK. Repeat the steps above to add morecusers to the group but instead of typing in the groupcname, click on the arrowcbeside name and choose the name entered earlier. If you are creating anothercaddress list, then you need to type in the group name.

Using this method is easy and straight forward but there are situations where the source address is not the criteria for deciding who should belong to an address list. For example, we can use a layer7 rule to deny users torrent access by adding their IPs to an address-list and then enforcing a rule to deny internet access to anyone whose IP address is found in that address-list. You can set a time limit after which a user’s address will be removed from the address list so that they can have internet access again. Trust me, once users become aware that they will be denied access to the internet once they make use of torrent or visit a prohibited website, they won’t try it. Apart from access denial, it provides information on the identity of those visiting such sites.
Step1
To create a dynamic address list, first use a layer7 rule to define the service that will serve as a deciding factor on whose address gets added to the address list or not. Click on IP>>Firewall>>Layer7 Protocols. Give it a name and paste code in as shown below. The rule below is for those visiting Youtube.

Step2
Next, click on IP>>Firewall>Filter>>add>>chain=forward>>in interface=LAN>>advance>>Layer7 Protocols=Youtube(the one created in step one above)>>Action=add src to address list>>name of adress list=Offenders. Code below:
Ip firewall filter add chain=forward action=add-src-to-address-list address-list=Offenders address-list-timeout=2h layer7-protocol=Youtube in-interface=ether5 log=no log-prefix=””
The code set a time limit of 2 hours for addresses help in the address list called offenders.

Step3
Now you can use another filter rule to deny internet access to members of the address list called offenders. As long as a user’s IP remains in that address list for the 2-hour duration specified by the admin, that user will have no internet access. See code below:
Ip firewall filter
add chain=forward action=drop src-address-list=Offenders log=no log-prefix=””
add chain=forward action=drop src-address-list=Offenders log=no log-prefix=””
The rule simply drops all packets from users in the address-list called offenders.