
Vlan configuration is one of the skills young engineers studying towards CCNA certification crave to have. It validates your ability to segment a network and enforce policies on a router that mitigate security breaches from within a network. Often times, young network engineers are mostly concerned with successful deployment of Vlans on their network than the security vulnerability that its wrong configuration brings. In this post, we will look at why you should not use Vlan1 as the native Vlan on your network and how to move the native Vlan away from Vlan1.
Understanding Vlan1 is crucial to any engineer who intends to segment a network by deploying Vlans. One of the things you are told as you get into the workings of Vlan is that all switchports are members of Vlan1, by default. To some engineers, it ends there. Time has proven that to understand the complexity of Vlan and the dangers that its wrong configuration poses to any network, understanding what happens beyond here is a must.
“It is recommended that user traffic be configured on VLANs other than VLAN 1, primarily to prevent unnecessary user broadcast and multicast traffic from being processed by the Network Management Processor (NMP) of the supervisor. Although VLAN 1 user traffic can be pruned from a trunk, it is not the case with control plane traffic.” – editorials.org.
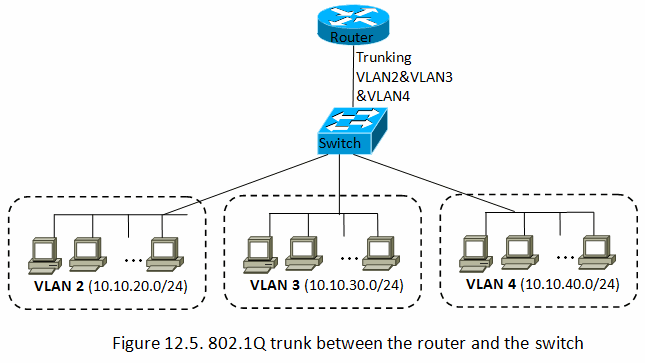
Since the Native Vlan is used for untagged frame, having all unused ports in Vlan1 makes it possible for anyone to plug in a device on any of those ports and be able to eavesdrop on frames that are sent between Vlans. To avoid this, it is highly recommend not to use Vlan1 as native Vlans and not to leave unused ports in vlan1. The steps below will guide you on how to move your native Vlan away from Vlan1 and assign all unused ports to another Vlan. To set a new native Vlan on a Cisco switch, an administrator will have to log in and manually configure it on trunk ports.
SW1(config)#int fa0/1
SW1(config)#switchport mode trunk
SW1(config-if)#switchport trunk native vlan 100
Next step is to put all unused ports in a “parking VLAN” which is not used on any trunks. And also shut down the ports. To this, we do the following, assuming the interfaces f0/11 to f0/18 are unused:
SW1(config)#int range fa0/11 -18
SW1(config-if-range)#switchport mode access
SW1(config-if-range)#switchport access vlan 100
SW1(config-if-range)#shut
Finally, use the Vlan allowed command to filter Vlan traffics that should be allowed on the trunk.
SW1(config)#int f0/1
SW1(config-if)#sw trunk allowed vlan 99(the native vlan), 20,30,40(user vlans created by the admin). Once done, the command show int trunk, will produce an output similar to the one below:

you are in point of fact a good webmaster. The site loading speed is incredible.
It sort of feels that you are doing any unique trick. Furthermore, The contents are masterwork.
you have done a excellent activity in this topic!
Hi,
I realise that this is a post from several years back. If you are still seeing these posts I wanted to ask a couple of questions.
1. Should we not look to putting unused ports in a VLAN that is not used as the NATIVE VLAN also? In the text example VLAN100 appears to be used for both NATIVE and unused ports.
2. In the image that is shown VLAN 99 is set as the native but is also permitted on the trunk link – assuming that VLAN 99 state is active and not suspend this would permit traffic to traverse the trunk – is that image intended for another topic?
Many thanks